
We are big Carnitas fans ever since we first had them at my dad’s favorite Mexican restaurant in Carson City, Nevada but we have never tried making them on our own… so, instead of the usual BBQ ribs for Memorial Day weekend, my Heart suggested we try our hand. We used a combo of two recipes: Mexican Slow Cooked Pork Carnitas: the slow cooker seemed like a good way to go because the day is busy and the combination of seasonings sounded good AND No-Waste Tacos de Carnitas, which we only used for methodology – the final touch, broiling the meat to caramelize make it Perfect. The next time we make this I may adjust the seasonings with some of his ideas and I might also try making the Salsa Verde but for this first attempt… YUM!
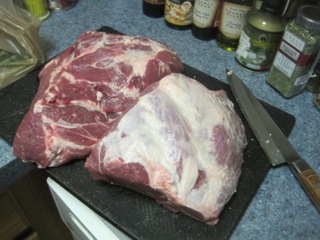
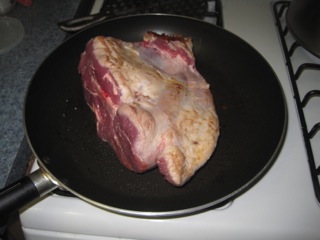
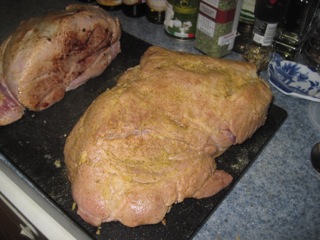
Cheapest pork roast possible – this was a Pork Shoulder (bone in).. it called for boneless but this was all they had at the grocery store we were at and we weren’t going to run around. The cost was impressive: $1.69 x lb.. Cheap! Trimmed off as much of the fat as I could get to without breaking through the meat – browned all sides in less than 1Tbsp olive oil.
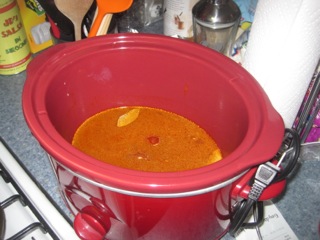
Bottom of the slow cooker: Chipotle peppers in Adobo sauce, 2/3 can of fat-free chicken broth, 2 Bay leaves.
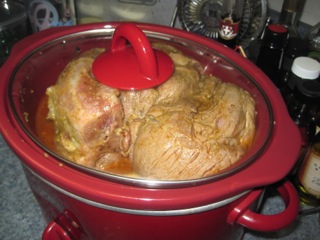
Into the pot for 8 hours – because we started the pot at our house and then moved it to the kids’ apartment, we did the first 3-hrs on low and then 4-hrs on high and the last hour (once we got home from lunch and errand running) on low.
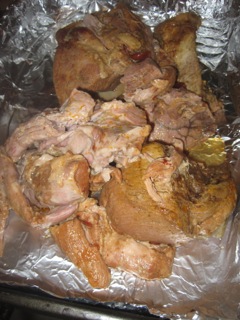
Removed the meat from the slow cooker and, using two forks, broke the roast apart into big chunks (removing any excess fat – although there wasn’t a lot, most had “melted” in the cooking process or been removed prior) and let rest before the final step.
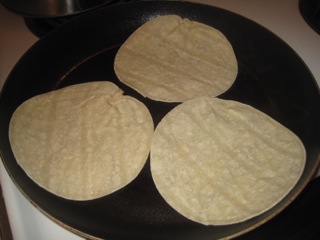
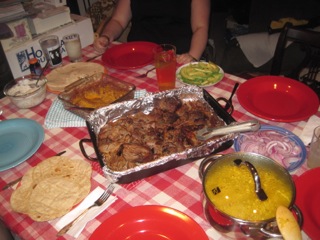
“Toasted” some corn tortillas in a hot skillet until just browned in spots – it is amazing the difference in the texture after browning them… they aren’t grainy and hold up very well to the toppings. Also had flour tortillas, which is the kids’ preference.
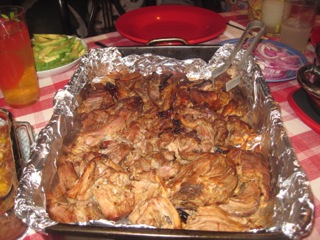
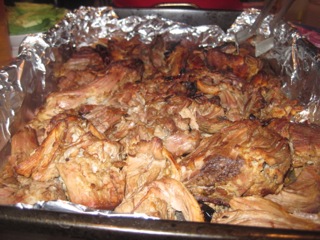
Final step – set the meat, close, under the broiler for approximately 5-mins until it was thoroughly browned – remove and turn over the pieces and repeat for about 4-minutes. This final step is imperative – the meat was falling apart tender but browning it added a depth of flavor and a bit of crisp-ness. The recipe says that you can do the cooking part up to three-days earlier and then do this final crisping / caramelizing part right before serving.
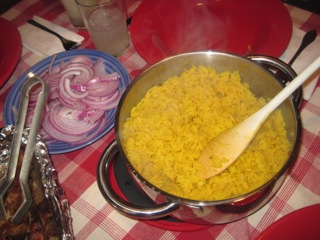
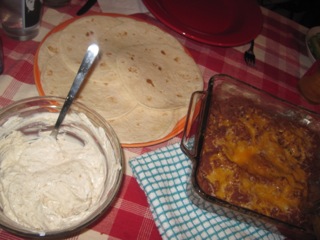
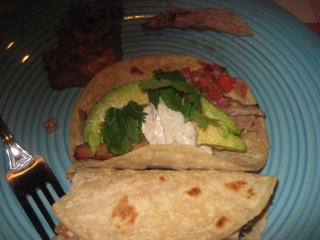
Condiments included: fresh cilantro leaves, creamy Mexican topping (the same dip/topping used for the Tostada Stack dinner a few weeks ago), avocado, fresh pico de gallo (HOT and a Mango pico), and red onions. Received RAVE Reviews … the only suggestions were Additions to the dinner! …OH.. .and somehow forgot to get pictures of the homemade Margaritas that went along with dinner – Super Yum!

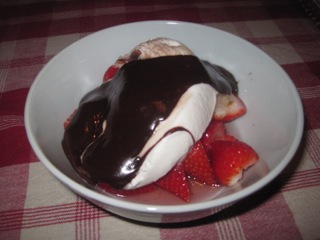
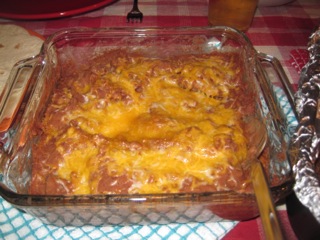
My Heart’s dessert was a perfect finish: fresh strawberries marinated in whipped cream vodka topped with ice cream and a chocolate ganache made from light and dark chocolate, butter, heavy cream and marshmallows – the marshmallows added a caramel-y flavor and, poured warm onto the ice cream, the texture became almost like
caramel. Delicious!
2 comments for “Pork Carnitas”